
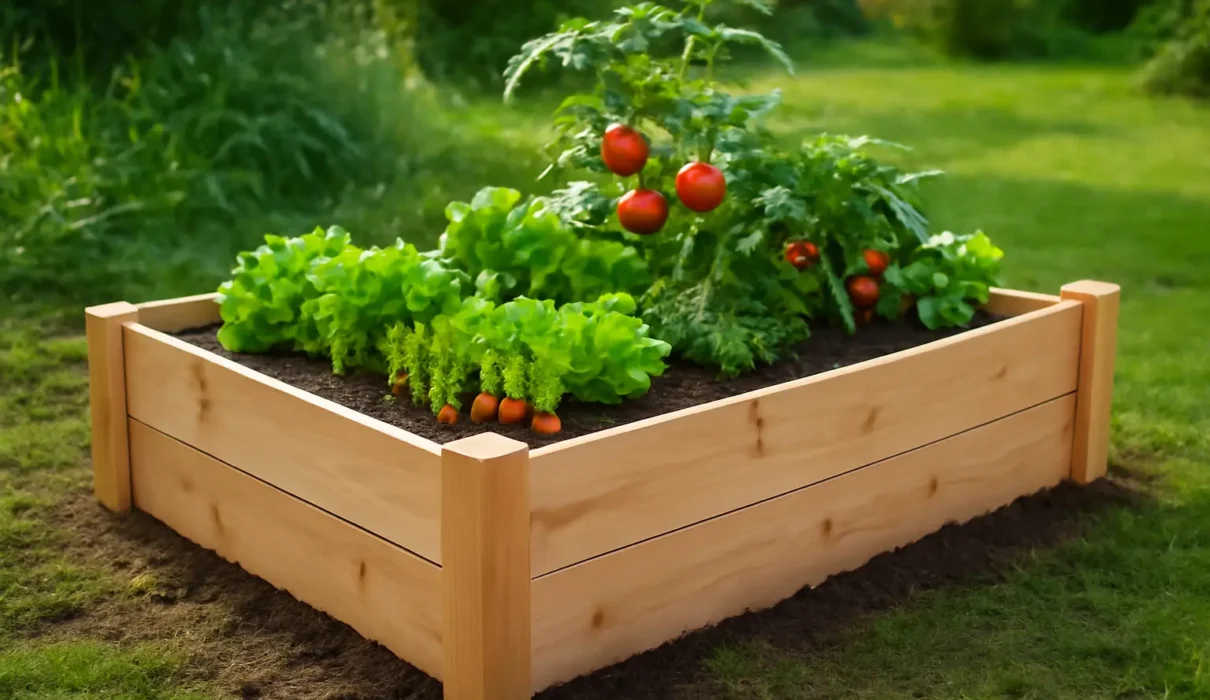
Do you have a little backyard space and want to grow your own vegetables? A raised garden bed could be your answer. Whether you’re an experienced gardener or a beginner, building your own raised bed is a great way to start growing food at home.
But maybe you’re not sure where to begin, or you’re feeling a bit overwhelmed by all the options. Don’t worry, I’ve got you covered! In this guide, I’ll walk you through each step of building your own raised garden bed, share tips, and give you some helpful advice to make sure the process goes smoothly. Let’s get our hands dirty and start building!
Why Choose Raised Garden Beds?
You might be wondering, “Why should I go the raised bed route?” Here’s the deal: Raised beds offer a ton of benefits!
- Better Soil Control: You can fill them with the best soil for your plants. No more rocky or compacted ground!
- Easy Access: No more bending down to weed or water. Raised beds are at a comfortable height, saving your back.
- Protection Against Pests: You can add mesh to keep out gophers, rabbits, and other critters.
- Improved Drainage: Raised beds prevent your plants from sitting in waterlogged soil, which is crucial for healthy roots.
- Aesthetic Appeal: Let’s be honest, raised garden beds just look great and add dimension to your garden space.
What You’ll Need
Before you start, here’s what you’ll need to gather:
- Lumber: I recommend cedar or redwood for durability.
- Screws: Get some decking screws, about 2.5 to 3 inches long.
- Power drill: To put everything together.
- Measuring tape: To make sure everything’s the right size.
- Saw: If you’re cutting the wood yourself.
- Soil: A mix of garden soil and compost for optimal plant growth.
- Hardware cloth (optional): If you need to keep out those pesky burrowing critters.
Step-by-Step Instructions
Step 1: Pick Your Bed Size and Design
First things first, how big do you want your raised garden bed to be? A 4×8 foot bed is a great starting point, but you can make it bigger or smaller based on your space.
The 4-foot width is ideal because it lets you reach into the middle without stepping on the soil. For the length, aim for 8 feet or less to avoid making it too heavy or difficult to move around.

Step 2: Prepare the Wood
Now that you’ve chosen your bed size, it’s time to cut the wood. For a 4×8 foot bed, you’ll need:
- 2 long boards (8 feet each) for the sides
- 2 short boards (4 feet each) for the ends
Pro tip: Using 2×6 boards stacked will give your raised bed a good height (around 16-18 inches), which is perfect for most plants.
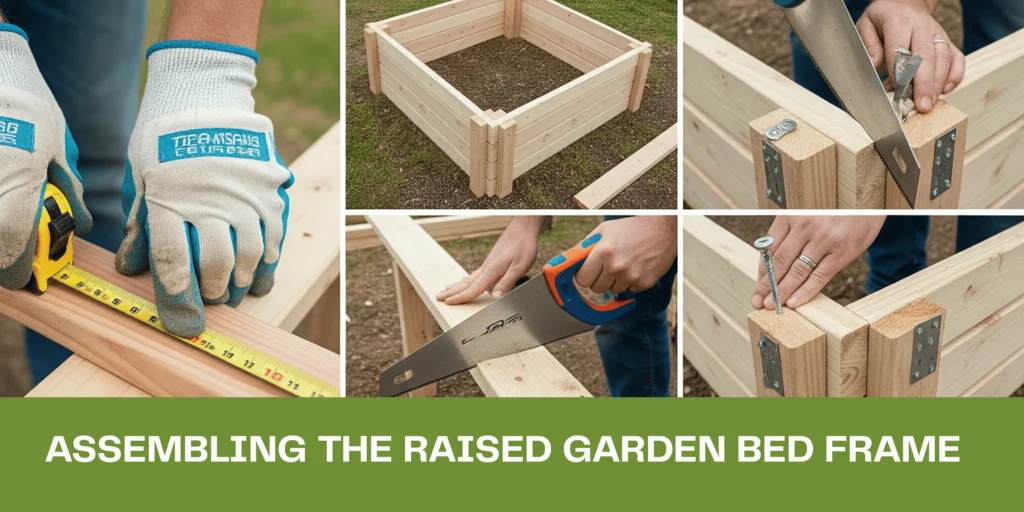
Step 3: Assemble the Frame
Here comes the fun part—putting it all together! Lay out your short boards and attach the long boards using your power drill and screws. Make sure the corners are square and everything lines up properly. It’s easier to do this on a flat surface, like your driveway or a patio.
If your wood is a little warped, don’t stress—it just means you’ll need to apply a bit more pressure to get it all aligned correctly.
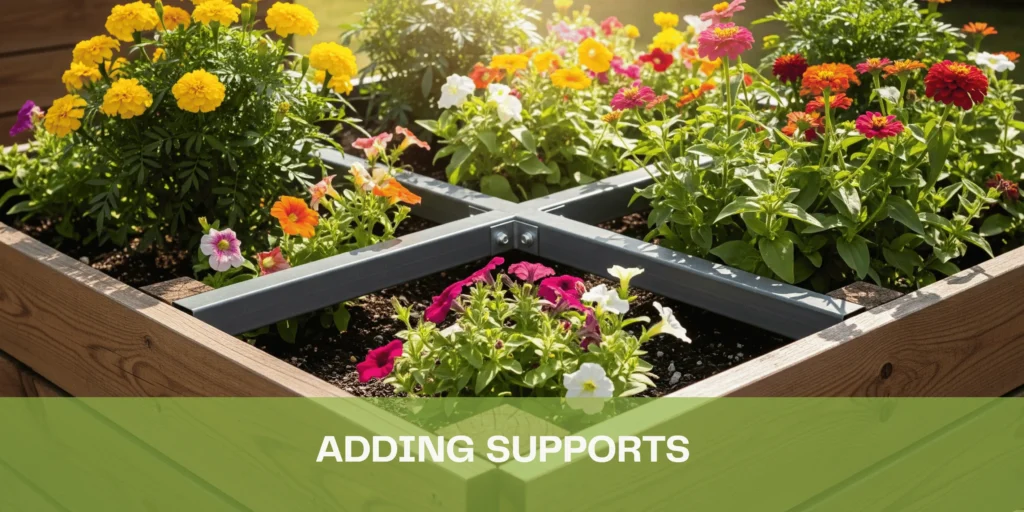
Step 4: Add Supports (If Needed)
If you’re building a larger bed (over 6 feet long), consider adding an extra center support to prevent the wood from bowing out over time. A metal brace works perfectly for this.

Step 5: Add Hardware Cloth (Optional)
If you live in an area with gophers or other burrowing pests, it’s a good idea to line the bottom of your raised bed with hardware cloth. This will stop the critters from digging up your plants. It’s an extra step, but totally worth it if you have pest issues.
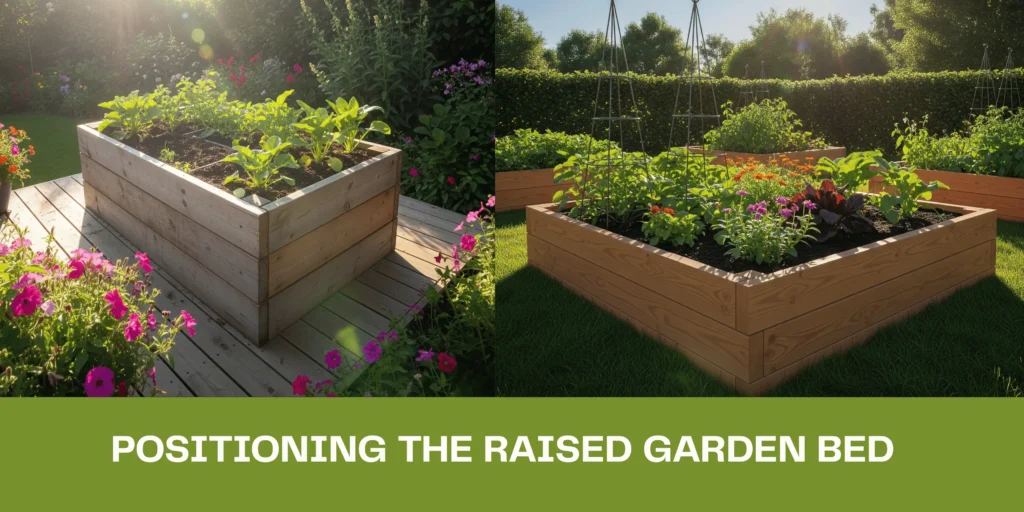
Step 6: Position the Bed
Pick a sunny spot for your raised bed. Most vegetables need at least 6–8 hours of sunlight each day. Once you’ve chosen your location, make sure the ground is level. If it’s a little sloped, don’t worry—just dig a small trench or level the soil underneath.
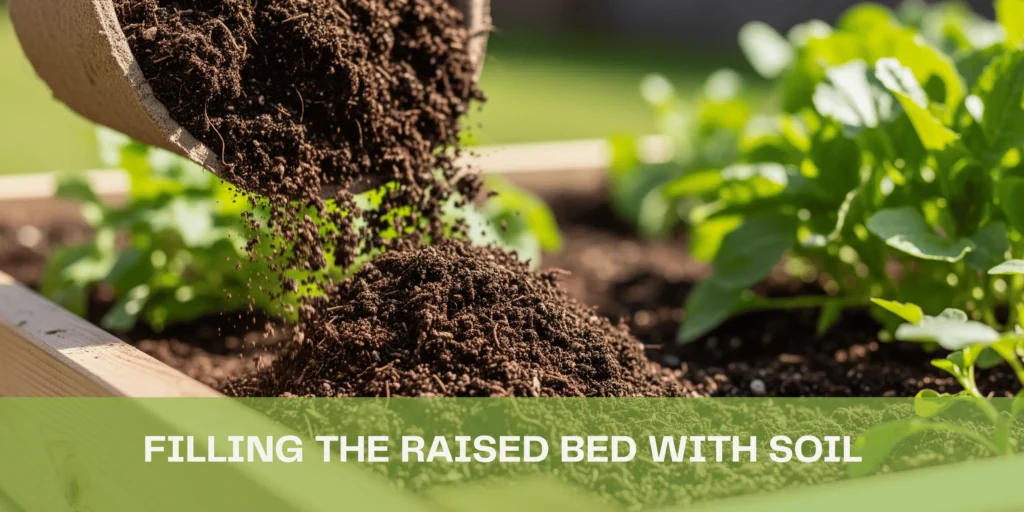
Step 7: Fill the Bed with Soil
You’re almost there! Now, fill your raised bed with a mix of garden soil and compost. A 2:1 ratio of soil to compost works best for most plants. This will give your veggies the nutrients they need to thrive.
Tip: Fill the bed all the way to the top, because the soil will settle over time.
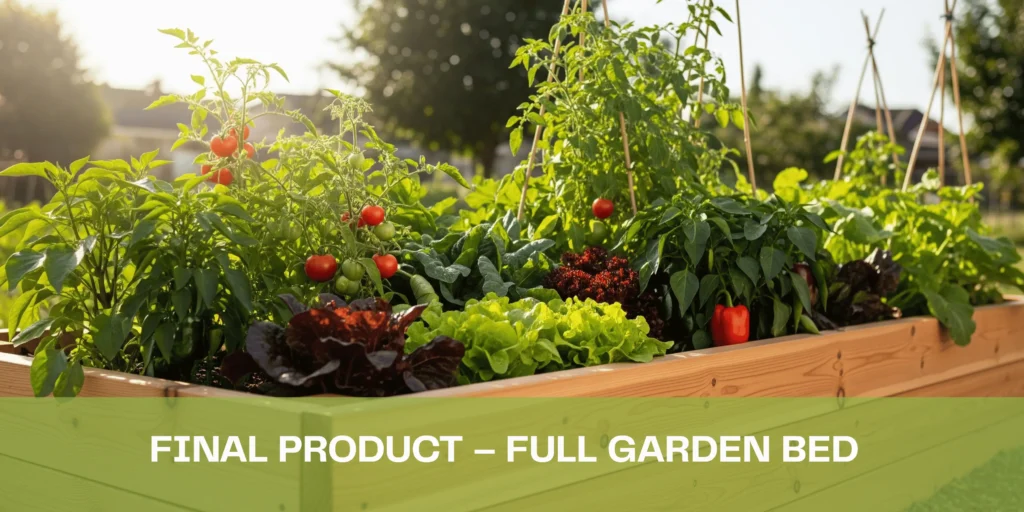
Step 8: Plant Your Garden
You did it! Now, it’s time to plant. Raised beds are great for vegetables like tomatoes, carrots, peppers, and herbs like basil and rosemary. You can plant directly into the soil or use planting guides to help decide what grows best.
Pro Tip: Water regularly, especially when the weather’s warm, since raised beds can dry out faster than ground soil.
Tips:
- Choose the Right Wood: Redwood and cedar are excellent choices for raised garden beds because they are durable, rot-resistant, and naturally repel insects. However, avoid using treated lumber or toxic materials to ensure the safety of your plants.
- Measure Carefully: Before cutting your wood, take your time to measure twice to avoid waste. It’s easy to overestimate the space needed, but accurate measurements will make assembly easier.
- Spacing for Accessibility: Space your raised garden beds at least 2 feet apart to allow for easy access and enough room for your gardening tools and yourself. This makes maintenance a lot easier.
- Proper Drainage: Ensure that your raised bed has proper drainage holes to avoid waterlogging. You can add gravel to the bottom of the bed or use a weed barrier to prevent roots from clogging the holes.
- Sunlight Considerations: Position your raised garden beds in areas with full sun exposure for at least 6 hours a day. Keep in mind that plants like tomatoes, peppers, and cucumbers thrive in these conditions.
- Use a Weed Barrier: Line the bottom of your raised bed with a weed barrier or landscape fabric to prevent weeds from growing up through the soil and competing with your plants.
FAQs:
1. What is the best wood to use for raised garden beds?
- Answer: The best woods are redwood and cedar because they are naturally resistant to decay and pests. Avoid pressure-treated wood as it can contain harmful chemicals.
2. How deep should a raised garden bed be?
- Answer: For most vegetables, a depth of 12–18 inches is sufficient. However, plants like carrots and root vegetables may require deeper beds to allow proper growth.
3. Can I build a raised garden bed on concrete?
- Answer: Yes, you can, but ensure that there is good drainage. You may need to amend the soil or use containers inside the raised bed to improve soil quality for your plants.
4. How do I prevent weeds from growing in my raised bed?
- Answer: Use a weed barrier under the bed and mulch the topsoil to keep weeds from taking root. Regularly check for weeds and remove them by hand before they spread.
5. Do I need to use a liner in a raised garden bed?
- Answer: A liner is not essential unless you’re using a specific material, such as treated wood or metal. It can help to keep the soil in place and prevent the sides from rotting in certain conditions.
6. How much soil do I need for my raised garden bed?
- Answer: The amount of soil you need depends on the size of your raised bed. Generally, you’ll need around 1 cubic yard of soil for a 4×8-foot bed with a depth of 12 inches.
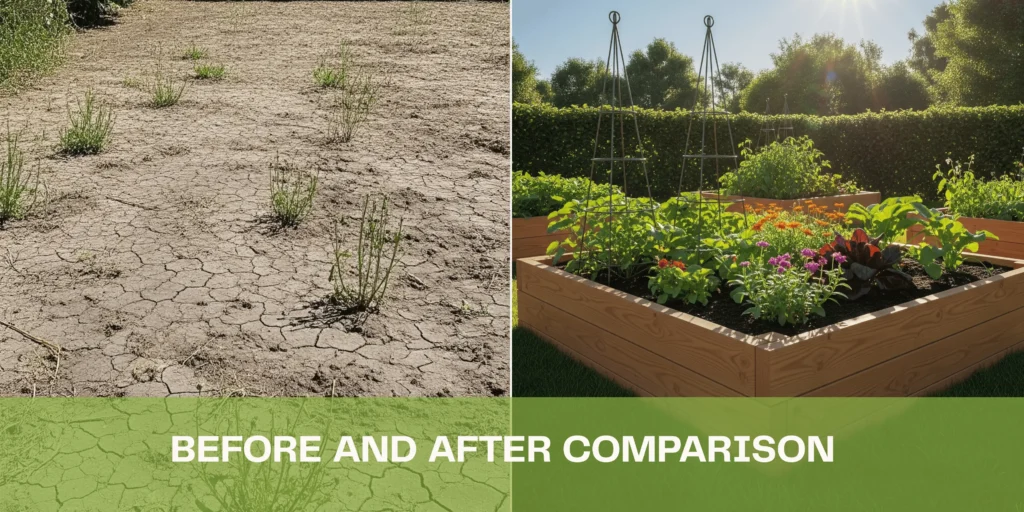
Conclusion
And that’s it—you’ve built your very own raised garden bed! It’s a simple DIY project that gives you more control over your gardening space, and it’s totally worth the effort. Now, all that’s left is to plant your favorite veggies, water them, and watch your garden grow.
With just a little planning and the right materials, you’ll be growing your own food in no time. Happy gardening!