

Ever wonder what to do with all those extra apples you can’t eat fresh? Well, here’s a simple and cost-effective solution. Why not make your very own apple cider vinegar at home? Not only is it a fantastic way to use up your harvest, but it’s also a great addition to your pantry and an excellent source of probiotics. Plus, you’ll be able to enjoy the countless benefits of apple cider vinegar all year long. Ready to learn how to preserve apples the healthy way? Let me show you how!
Benefits of Making Your Own Apple Cider Vinegar
1. Cost-Effective:
Store-bought apple cider vinegar can be expensive, especially if you’re buying the raw, organic kind. When you make it yourself, you not only save money but also ensure that you’re using fresh ingredients, whether you’re using whole apples or scraps.
2. Reduces Waste:
Using apple scraps (such as cores, peels, and seeds) for ACV is an excellent way to reduce kitchen waste. It’s a sustainable choice that helps you make the most of the apples you already have, especially if you’re unable to consume them all fresh.
3. Health Benefits:
Apple cider vinegar is more than just a tasty addition to your salad dressing. It’s rich in probiotics, which are beneficial for gut health and digestion. Studies have shown that ACV can help regulate blood sugar levels, making it a good option for people with diabetes. Additionally, its acetic acid content can support weight loss by boosting metabolism and helping to curb appetite.
4. Versatile Uses:
ACV isn’t just a kitchen ingredient. It can also be used in cleaning, as a hair rinse, and even in natural beauty regimens as a toner. It’s one of those all-in-one products you’ll never regret having on hand.
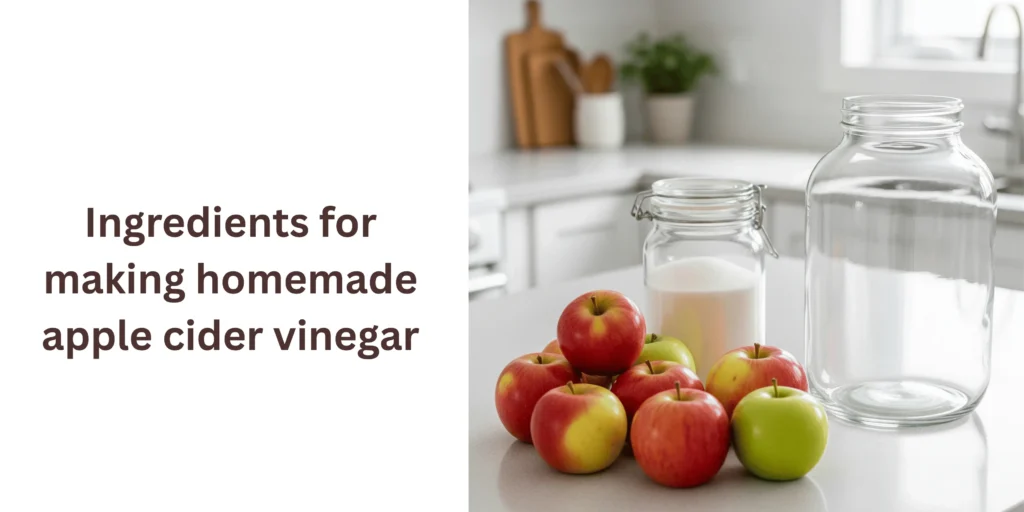
Supplies Needed:
- Organic Apples or Apple Scraps: Whole apples are perfect, but apple scraps (peels, cores, etc.) work just as well!
- Filtered Water: To help ferment the apples naturally.
- Organic Cane Sugar: This will fuel the bacteria that turn your apples into vinegar.
- A Large Glass Vessel or Crock: The size depends on how many apples you have.
- Bottles for Storage: To store the finished vinegar.
- Cheesecloth or Tea Towel: To cover the jar during fermentation.
- Optional: ACV from a Previous Batch: Adding a bit of your previous ACV can help kickstart the fermentation process.
Step-by-Step Instructions for Making Apple Cider Vinegar:
Step 1: Gather & Prepare Apples
If you’re using apple scraps, no preparation is needed other than to thaw frozen scraps. For whole apples, simply wash them well and chop them into chunks. Don’t worry about removing seeds or cores; these will contribute to the final vinegar. Add the prepared apples to your jar or crock.

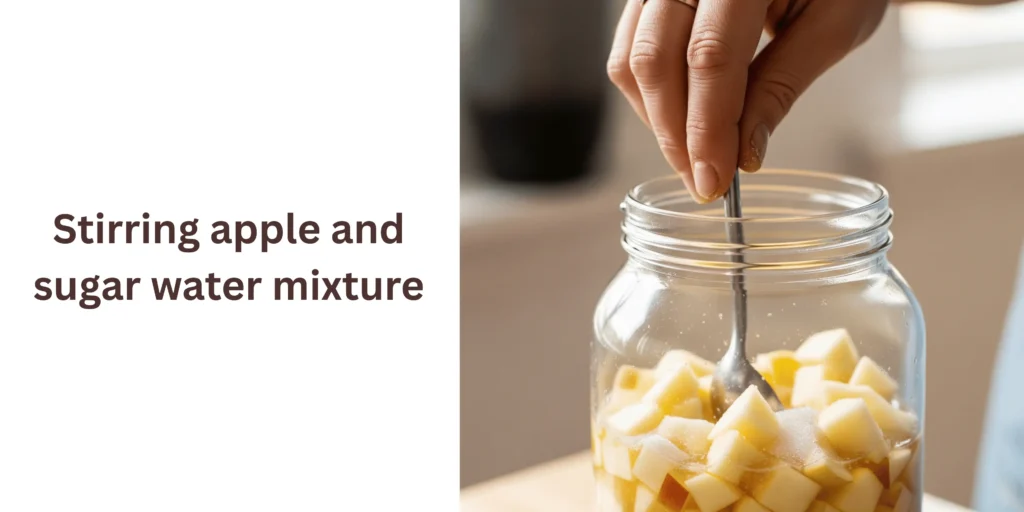
Step 2: Add Water & Sugar
Next, pour in enough filtered water to cover the apples. Then, for every cup of water, add about 1 tablespoon of sugar. Stir the mixture well until the sugar is fully dissolved.
Step 3: Let the Mixture Ferment & Stir
Cover your vessel with a breathable cloth, such as a tea towel or cheesecloth, and leave it in a warm, dark place (ideally around 70–75°F) for about 2-3 weeks. Stir it every day to prevent mold from forming on the surface. You’ll notice bubbles forming, which indicates the fermentation process is underway.
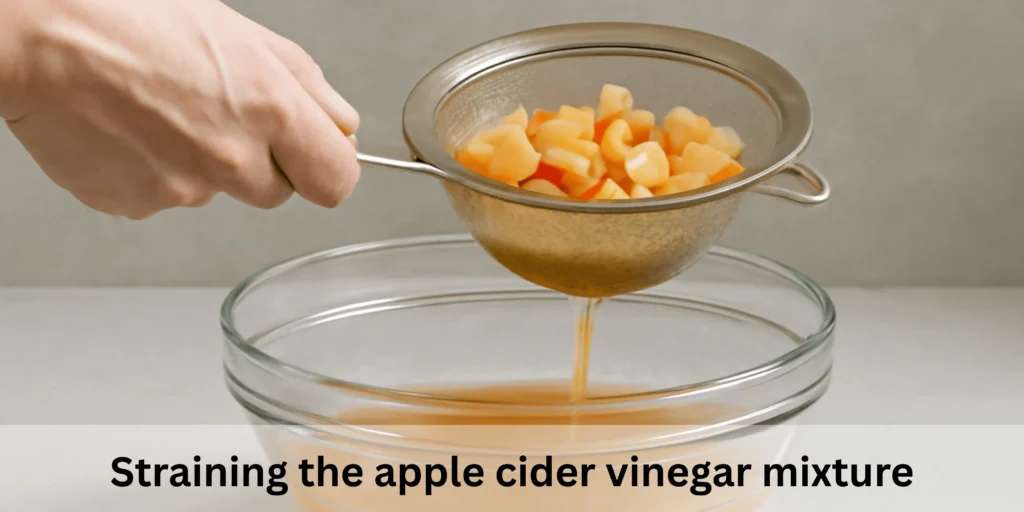
Step 4: Strain the Apples
After two weeks, strain out the solids from the liquid. The liquid is now the raw apple cider vinegar base. Pour it back into your jar or crock and let it continue fermenting for another 4-6 weeks.
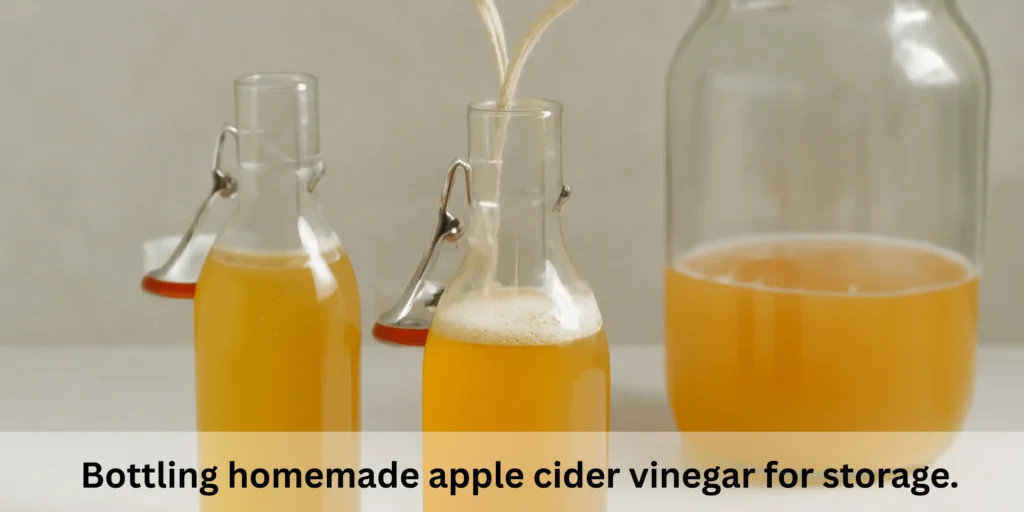
Step 5: Bottling Your Apple Cider Vinegar
Once the vinegar has reached your desired acidity (typically after 1-2 months), strain it one last time and bottle it. Store it in a cool, dark place, and it’s ready to use!

How to Use Apple Cider Vinegar:
1. In Salad Dressings:
Apple cider vinegar is a tangy addition to homemade salad dressings. Mix it with olive oil, mustard, and seasonings for a quick vinaigrette.
2. As a Health Tonic:
Take a shot of diluted ACV before meals to aid digestion. It can help stabilize blood sugar levels and improve gut health.
3. In Cooking:
ACV can be used in sauces, marinades, or as a substitute for lemon juice in recipes that need a bit of tang.
4. For Weight Loss:
Some studies suggest that apple cider vinegar can promote fat burning and help you feel fuller for longer. Just be sure to dilute it with water, as it is very acidic.
5. In Cleaning:
ACV is a natural disinfectant. Use it to clean countertops, mirrors, and even as a softener in your laundry.
6. Hair Rinse:
Use diluted ACV as a natural hair rinse to remove mineral buildup and enhance shine.
7. Beauty:
Apple cider vinegar is often used in natural skincare routines. It can act as a toner, help treat acne, or even reduce the appearance of age spots.
Additional Tips for Making Apple Cider Vinegar:
- Apple Variety: Use a mix of sweet and tart apples for the best flavor balance. Fuji, Gala, or Granny Smith apples are all excellent choices.
- Fermentation Time: The longer you let your vinegar ferment, the more robust and tangy it will be. Feel free to taste-test the vinegar after a month to see if it’s to your liking.
- Optional Ingredients: Some people add a small amount of ACV from a previous batch to jumpstart the fermentation process. This can help prevent mold from forming.
FAQ’s
- Can I use apple scraps to make apple cider vinegar?
Absolutely! Apple scraps, including skins, cores, and stems, work wonderfully in the process. Just make sure they’re clean! - How long does it take to make apple cider vinegar?
From start to finish, it usually takes around 6 weeks, but the time can vary based on temperature and the type of apples used. - Do I need to refrigerate apple cider vinegar?
No, ACV can be stored at room temperature. Just make sure to keep it in a cool, dark place.
Conclusion
Making apple cider vinegar at home is simple, cost-effective, and a great way to use up apples. Plus, it’s packed with health benefits, so you can feel good about adding it to your diet and daily routines. Enjoy the process of turning your apples into something delicious and versatile!